Templates
Creating a template
The Mizmoz editor allows you to quickly and easily create great looking, responsive templates. To create a new template, go to the Template section and click the Create Template button. Enter the name of the template you want to create and hit Create.
The Basics
Mizmoz provides an easy to use drag and drop editor. There are just two simple concepts to understand: layouts and components.
Layouts
Layouts allow you to split your content in to 1, 2 or 3 columns of varying ratios.
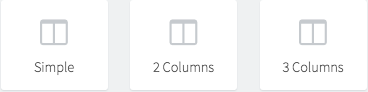
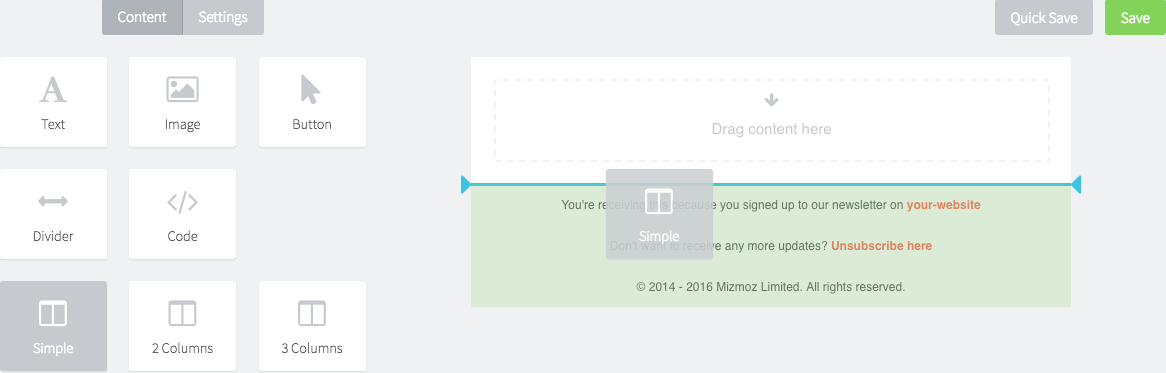
To use a layout, click on one of the layout icons and drag on to the main layout.
Layout Settings
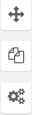 When you move your mouse over a layout in the editor pane 3 icons will appear to the side of it.
The first icon allows you to move the layout. The second allows you to duplicate the layout and
its contents. This can be really useful to create a mini blueprint and then create multiple
copies quickly. The final icon is for the layout settings.
When you move your mouse over a layout in the editor pane 3 icons will appear to the side of it.
The first icon allows you to move the layout. The second allows you to duplicate the layout and
its contents. This can be really useful to create a mini blueprint and then create multiple
copies quickly. The final icon is for the layout settings.
When you select the layout settings the layout will become highlighted and a menu will appear on the left hand side. This has some useful settings to allow you to set the background colour, select spacing and centre on mobile.
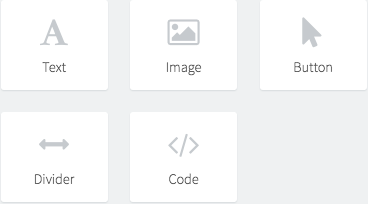
Components
Components are the content of your templates. These allow you to add editable text areas, images,
buttons, dividers and custom code blocks. To add a component to your template, click the icon and
drag over to a layout. The editor will highlight where you can drop them.
 You can add lots of components to a single layout, although we like to think of layouts as a
single part of your template. For example, if you're creating a header, use a single layout for
this as it makes rearranging your template much easier.
You can add lots of components to a single layout, although we like to think of layouts as a
single part of your template. For example, if you're creating a header, use a single layout for
this as it makes rearranging your template much easier.
Text Components
Think of these as a mini Microsoft Word in your template that allows you to edit content inline.
You'll want to use these for the bulk of your content. When you click on the text to edit it the
left hand menu changes to display some extra settings for the text.
 You can change the style of your text, add lists, comments and links. If you know HTML you can
also edit the source of your content. It's worth noting that if you want to add lots of custom code
you should probably use the code component instead.
You can change the style of your text, add lists, comments and links. If you know HTML you can
also edit the source of your content. It's worth noting that if you want to add lots of custom code
you should probably use the code component instead.
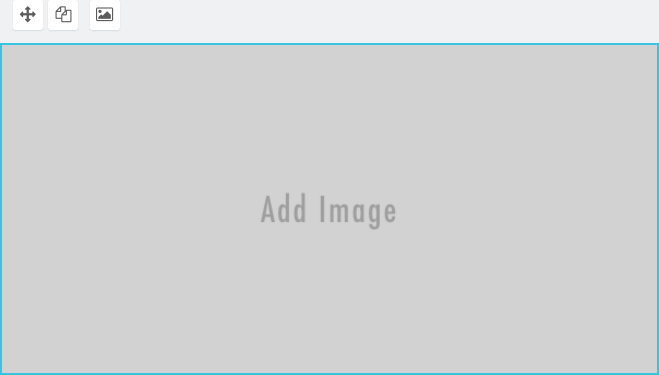
Image Components
Images can really help to bring your templates to life. To add or replace an existing image
double click on the image or it's placeholder in the editor. This will display your Media. This is
where all the content you upload will be stored. If you've already uploaded some images just double
click on the image to insert again otherwise click Upload a file
and upload your a new image. Once uploaded double click on it to insert.
Button Components
Buttons are a great way to add a really clear call to action. These can be customised changing the
text, button colour, text colour and size.

Divider Components
Dividers double up as either a simple horizontal rule to separate content or as a spacer between
content. Make the divider transparent by typing "transparent" in the colour box. Once you get going
with the editor you'll realise just how useful these are for creating pixel perfect content.

Code Components
The editor allows you to do create great templates easily, creating cross browser
HTML & CSS code but sometimes you'll just want to get your hands dirty. Select the component in
the editor and the left hand menu will display a simple text area to add your custom code, your
preview will update in real time. Once you're done make sure you set
Lock code to "Yes" to stop any further edits.

Template Settings
The Settings tab is where you can setup your template. It has options for the template background, colours, fonts and sizes.